描述
Checkout for PayPal plugin allows you to easily create PayPal smart payment buttons using PayPal’s checkout API (previously known as PayPal Express Checkout). It generates dynamic payment buttons using shortcodes that enable PayPal checkout on your WordPress site.
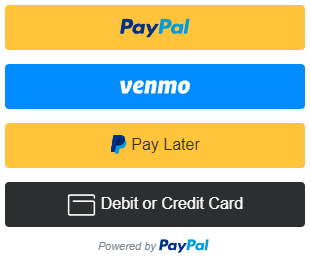
Your customers will be able to pay for your products using PayPal, Pay Later or Credit Card. All you need to do is insert a shortcode into one of your web pages and your website will be ready to go live.
Checkout for PayPal supports PayPal Sandbox. PayPal Sandbox is a simulation environment which allows you to do test purchases between a test buyer and a seller account. This is to make sure that your store can process PayPal transactions without any issues. It also helps you get prepared before selling to real customers.
Checkout for PayPal Features
- Sell products or services using PayPal
- Create PayPal buttons on the fly in a post/page using shortcodes
- Smart Fast PayPal checkout
- Allow shoppers to complete their purchases using PayPal, Pay Later, Pay in 4, Venmo, credit card and debit card payments
- Accept once off payments
- Support Venmo checkout
- Offer a simplified and secure checkout experience
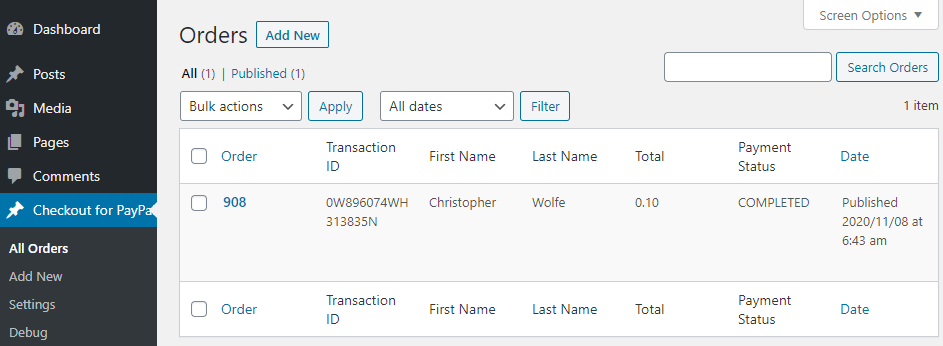
- View or Manage orders received via PayPal buttons from your WordPress admin dashboard
- Quick settings configurations
- Enable debug to troubleshoot various issues (e.g. orders not getting updated)
- Switch your store to PayPal sandbox mode for testing
- Sell in any currency supported by PayPal
- Send a purchase confirmation email to your customer after a transaction
- Send a sale notification email to one or more recipients (e.g. the seller) after a transaction
- Customize the locale
Checkout for PayPal Add-ons
How to Configure Checkout for PayPal
PayPal Checkout plugin uses PayPal REST API to add smart payment buttons to your website. To Generate REST API credentials for the sandbox and live environments:
- Log in to the PayPal Developer Dashboard with your PayPal account credentials.
- On My Apps & Credentials, use the toggle to switch between live and sandbox testing apps (If you are creating a Sandbox app, you will also need to select a test business account that will act as the API caller).
- Navigate to the REST API apps section and click Create App.
- Type a name for your app and click Create App. The app details page opens and displays your credentials.
- Copy and save the client ID and secret for your app.
- Review your app details and save your app.
Once the plugin is installed go to the settings menu to configure some default options (Checkout for PayPal -> Settings).
- Client ID: The client ID for your PayPal REST API app
- Currency Code: The default currency of the payment
- Return URL: The page URL to which the customer will be redirected after a successful payment (optional).
- Cancel URL: The page URL to which the customer will be redirected when a payment is cancelled (optional).
Checkout for PayPal Emails
Checkout for PayPal plugin comes with an “Emails” tab where you will be able to configure some email related settings.
Email Sender Options
In this section you can choose to customize the default From Name and From Email Address that will be used when sending an email.
Purchase Receipt Email
When this feature is enabled an email sent to the customer after completion of a successful purchase. Options you can customize here:
- The subject of the purchase receipt email
- The content type of the purchase receipt email. The default is “Plain Text”. But you can also set it to “HTML”
- The body of the purchase receipt email.
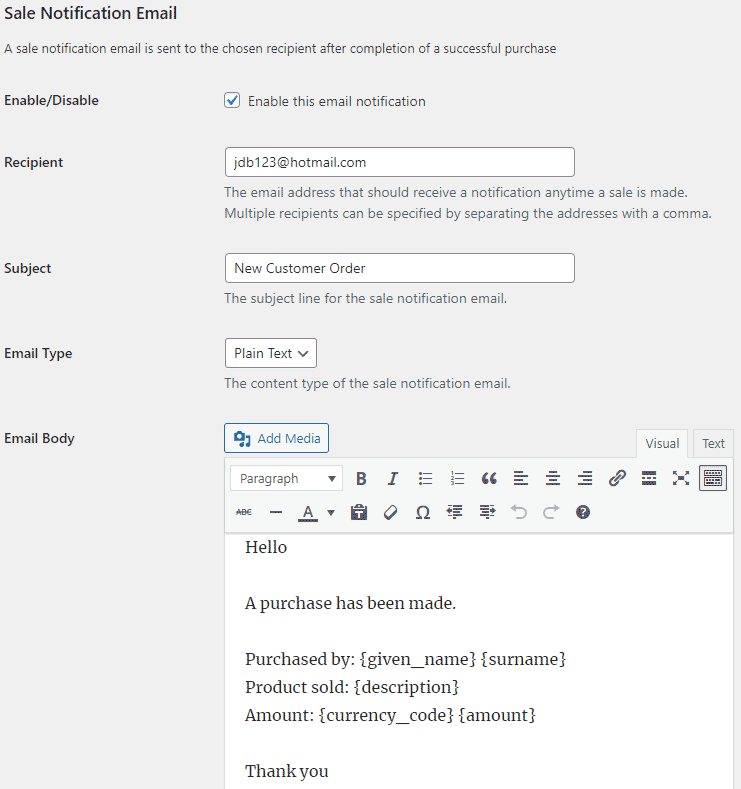
Sale Notification Email
When this feature is enabled an email is sent to your chosen recipient(s) after completion of a successful purchase. Options you can customize here:
- The subject of the sale notification email
- The content type of the sale notification email. The default is “Plain Text”. But you can also set it to “HTML”
- The body of the sale notification email.
You can use various email tags in the body of an email to dynamically change its content. You can find the full list of available email tags in the Checkout for PayPal plugin page.
How to Create a PayPal Smart Payment Button
In order to create a PayPal Smart Payment Button insert the shortcode like the following:
[checkout_for_paypal item_description="My cool product" amount="1.00"]
Replace the values with your item description and amount.
PayPal Smart Payment Button Parameters
You can use additional parameters to customize your PayPal buttons.
- amount – The price of the item (e.g. amount=”4.95″).
- item_description – Description of the item.
- return_url – The URL to which the user will be redirected after the payment (e.g. return_url=”https://example.com/thank-you/”).
- cancel_url – The URL to which the user will be redirected when the payment is cancelled (e.g. cancel_url=”https://example.com/payment-cancelled/”).
- no_shipping – Do not prompt buyers for a shipping address (e.g. no_shipping=”1″).
- layout – The layout of the PayPal button (e.g. layout=”horizontal”). Available layouts: vertical, horizontal. The default is vertical.
- color – The color of the PayPal button (e.g. color=”blue”). Available colors: gold, blue, silver, white and black. The default is gold.
- shape – The shape of the PayPal button (e.g. shape=”pill”). Available shapes: rect and pill. The default is rect.
- width – The width of the PayPal button (e.g. width=”500″). The default is 300px.
- shipping – The shipping amount for the item (e.g. shipping=”1.50″).
For detailed documentation please visit the PayPal plugin page.
Translation
If you are a non-English speaker please help translate Checkout for PayPal into your language.
Note: This is NOT an official PayPal product.
螢幕截圖
安裝
- Go to the Add New plugins screen in your WordPress Dashboard
- Click the upload tab
- Browse for the plugin file (checkout-for-paypal.zip) on your computer
- Click “Install Now” and then hit the activate button
常見問題
-
Can I accept PayPal payments in WordPress using this plugin?
-
Yes.
-
Yes.
評價
貢獻者及開發者
修改日誌
1.0.27
- Made changes to the code that retrieve the plugin url and path.
1.0.26
- Added options to enable/disable funding sources.
1.0.25
- Added an email tag for the customer’s phone number.
- Better debug logging.
1.0.24
- Additional check for the settings link.
1.0.23
- Added an option to set the locale for the buyer.
1.0.22
- Added a parameter to specify the shipping amount.
- Added email tags for the item total and shipping amount.
- Improved the checkout flow.
1.0.21
- Added an option to load PayPal scripts on every page.
1.0.20
- Added support for Contact Form 7 integration.
1.0.19
- Added an option to configure a payment cancellation page.
1.0.18
- Added support for dynamic buttons.
1.0.17
- Fixed an error in loading scripts when the rendered page does not exist.
1.0.16
- Added email settings.
1.0.15
- Added an option to show the Venmo button at checkout.
1.0.14
- Made some security related improvements suggested by wpscan.
1.0.13
- Added horizontal layout option to PayPal checkout button.
1.0.12
- Made some improvements in the plugin settings.
1.0.11
- Made item information available in the orders menu.
1.0.10
- Added pill shape as an available style to PayPal checkout button.
1.0.9
- Added support for the variable price add-on.
1.0.8
- Customer email address is now shown in the orders menu.
1.0.7
- Added Venmo as a payment option.
1.0.6
- Added the width parameter to customize the size of the PayPal button.
1.0.5
- Added the color parameter to customize the color of the PayPal button.
1.0.4
- The shortcode can be used in a custom field.
1.0.3
- Added the “no_shipping” parameter to disable shipping address collection.
1.0.2
- Added fix for a PayPal bug where specifying a different currency would trigger an error.
1.0.1
- First commit


